
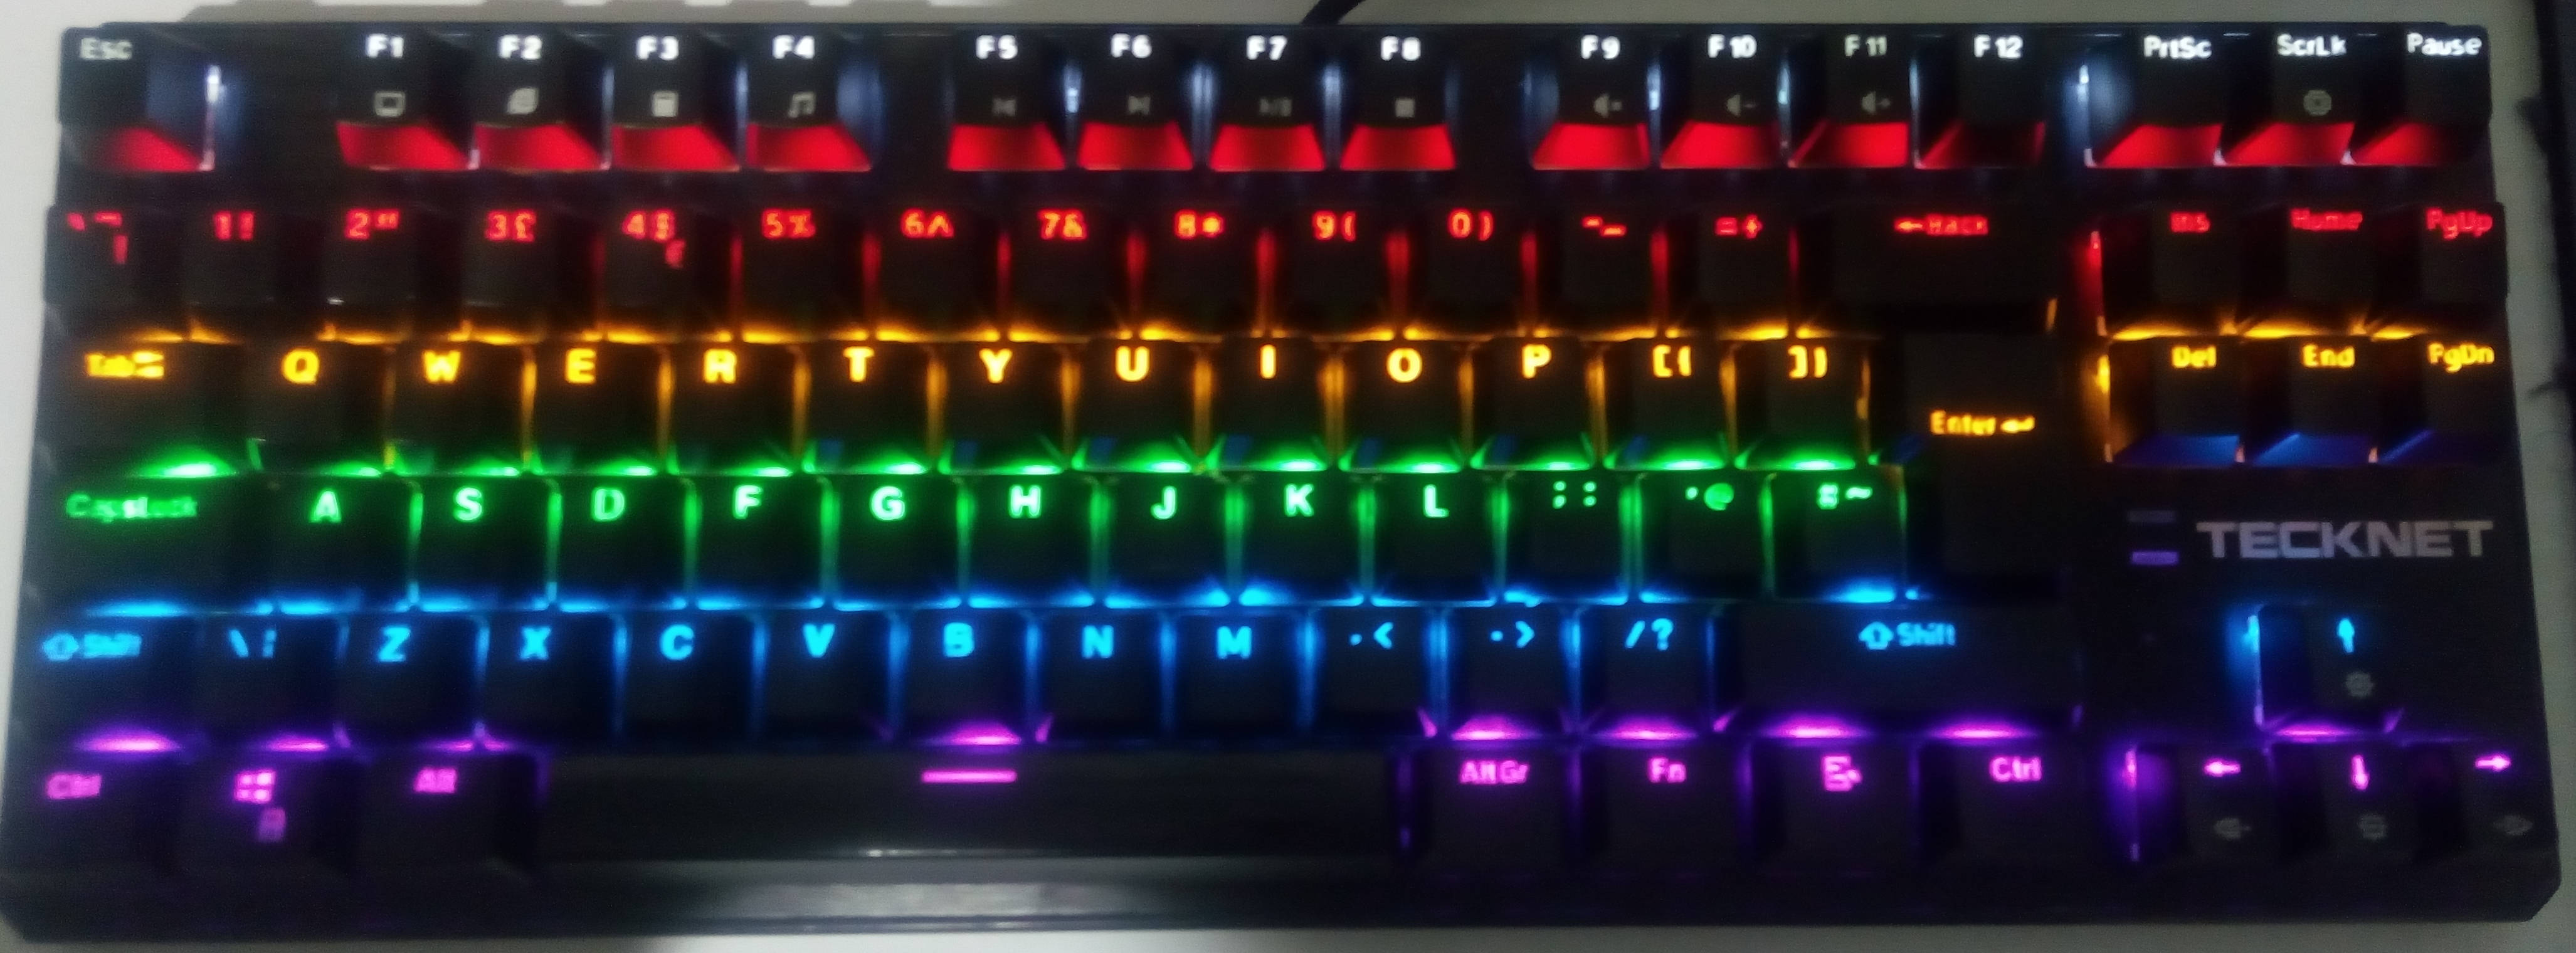
The keyboard we discuss here is a TeckNet mechanical keyboard, X705 UK layout. I believe it is called a 65% keyboard, although it doesn’t actually say. I personally never use the numpad and have no purpose for it on my desk, so I can save some space and money by simply having a keyboard without it. From memory it cost about £40 when it was originally purchased.
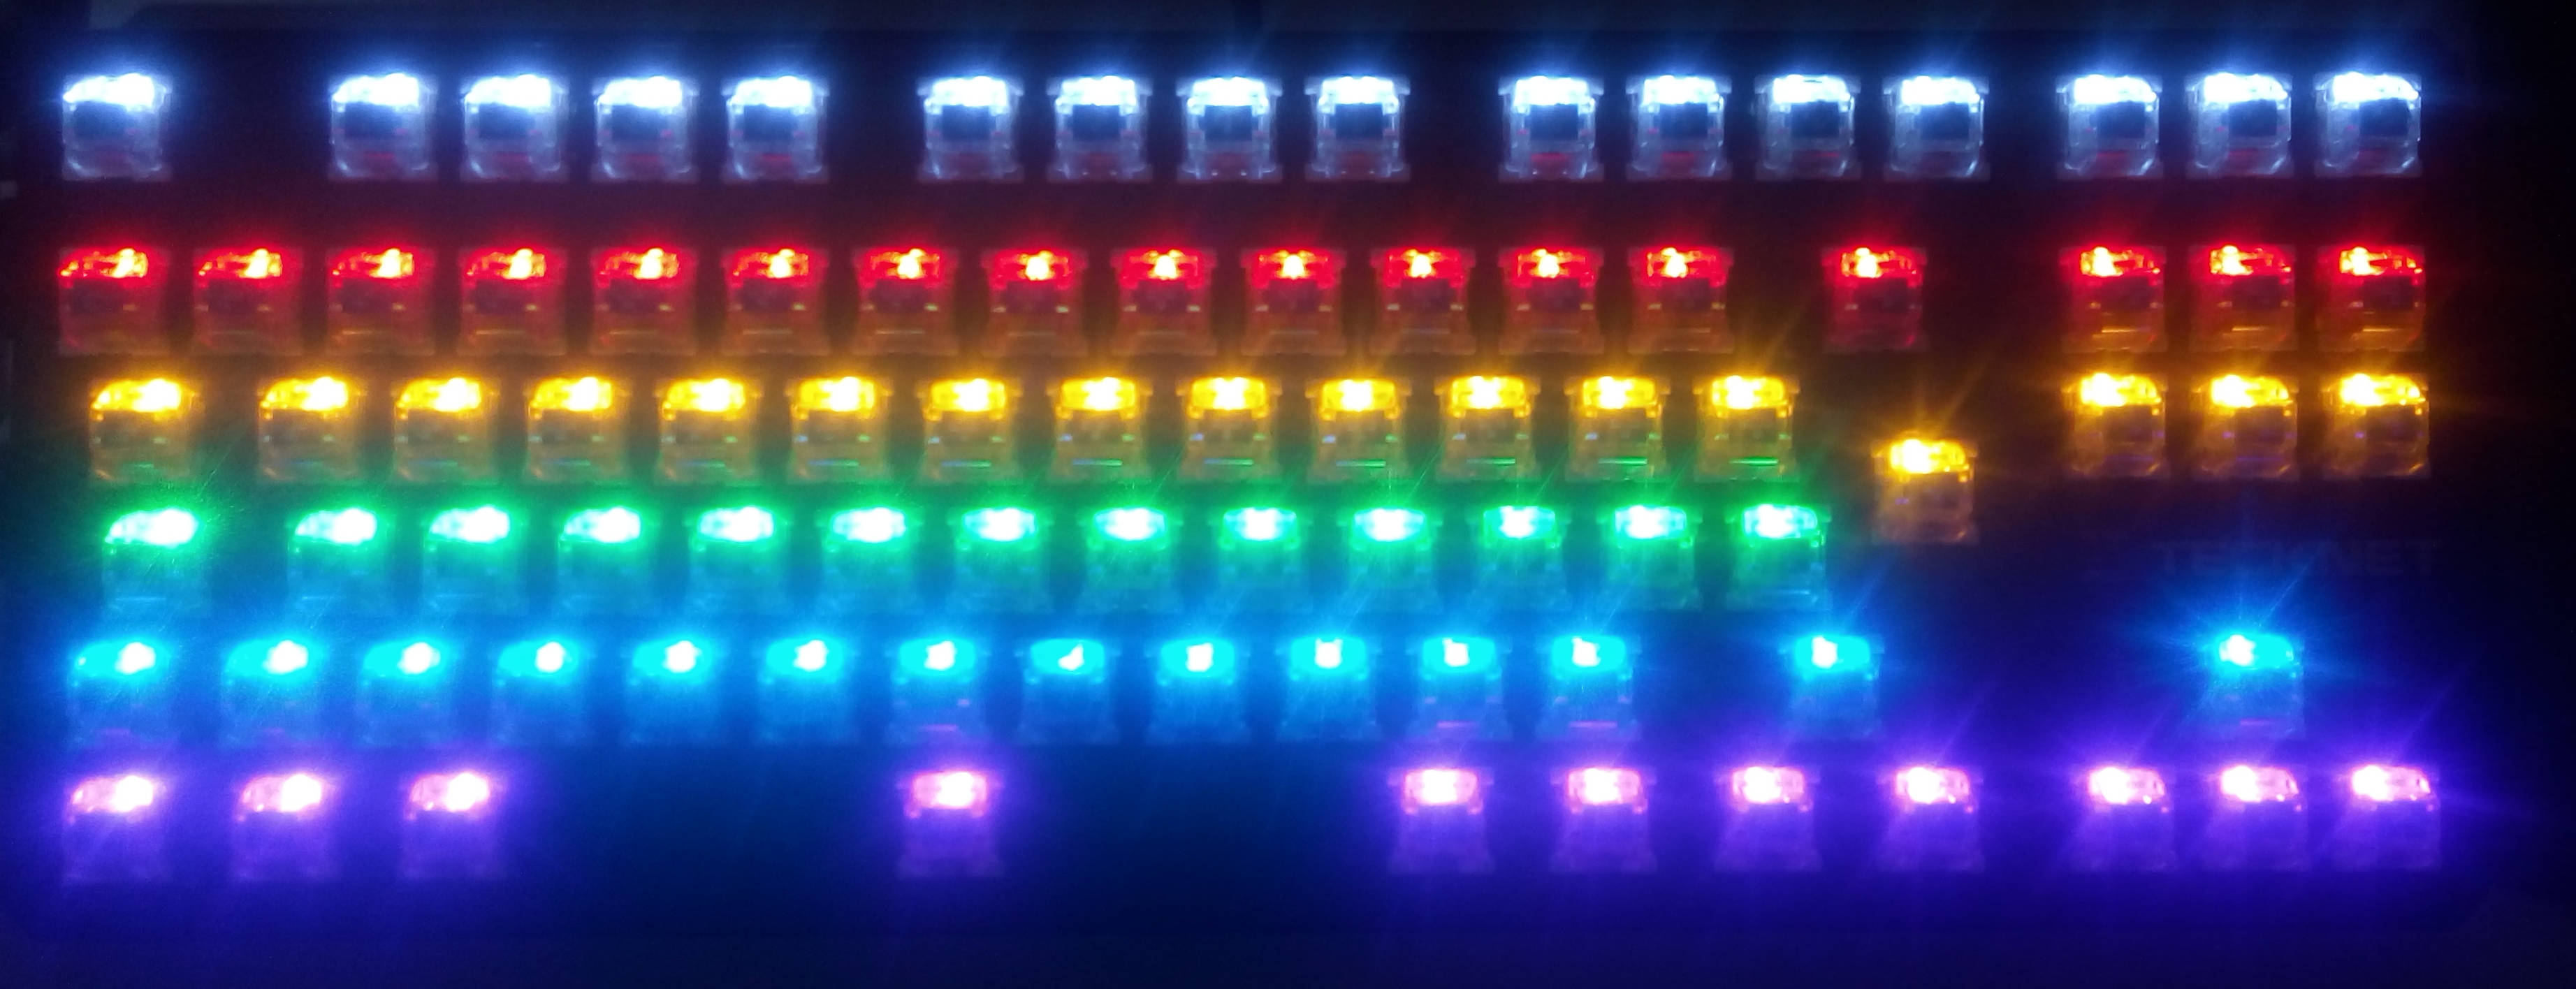
Generally I have found the keyboard to be okay. The blue key switches are nice and uniform, and day-to-day it doesn’t tend to miss a click. I was never particularly happy with the RGB light selection, it always appeared immature to me - but it did the trick.
The keyboard has done pretty well so far, having done about 4 years of service every day for at least 12 hours a day. It’s travelled around the world multiple times and has survived many a spill. I think it’s fair to say that I got my money’s worth from this keyboard, and if they still sold them, I would definitely recommend picking one up for abuse.
Recently though, the n and m keys begun to
stick, not responding some times and getting stuck other times. I tried
taking off the caps and cleaning them the best I could, but generally
this indicates that the switch itself has allowed the ingress of dirt or
has failed entirely.
This isn’t the first time that it would have failed either, some time
ago the w key stopped pressed correctly. Back then I took
it apart and switched the Pause switch (which I never use)
with the w key - and all was good again.
The first job is to take it apart. The screws are placed under the key caps, so all the key caps need to come off. Unfortunately it is not easy to see in the picture where the screws are as they are recessed into the chassis and the camera is awful.
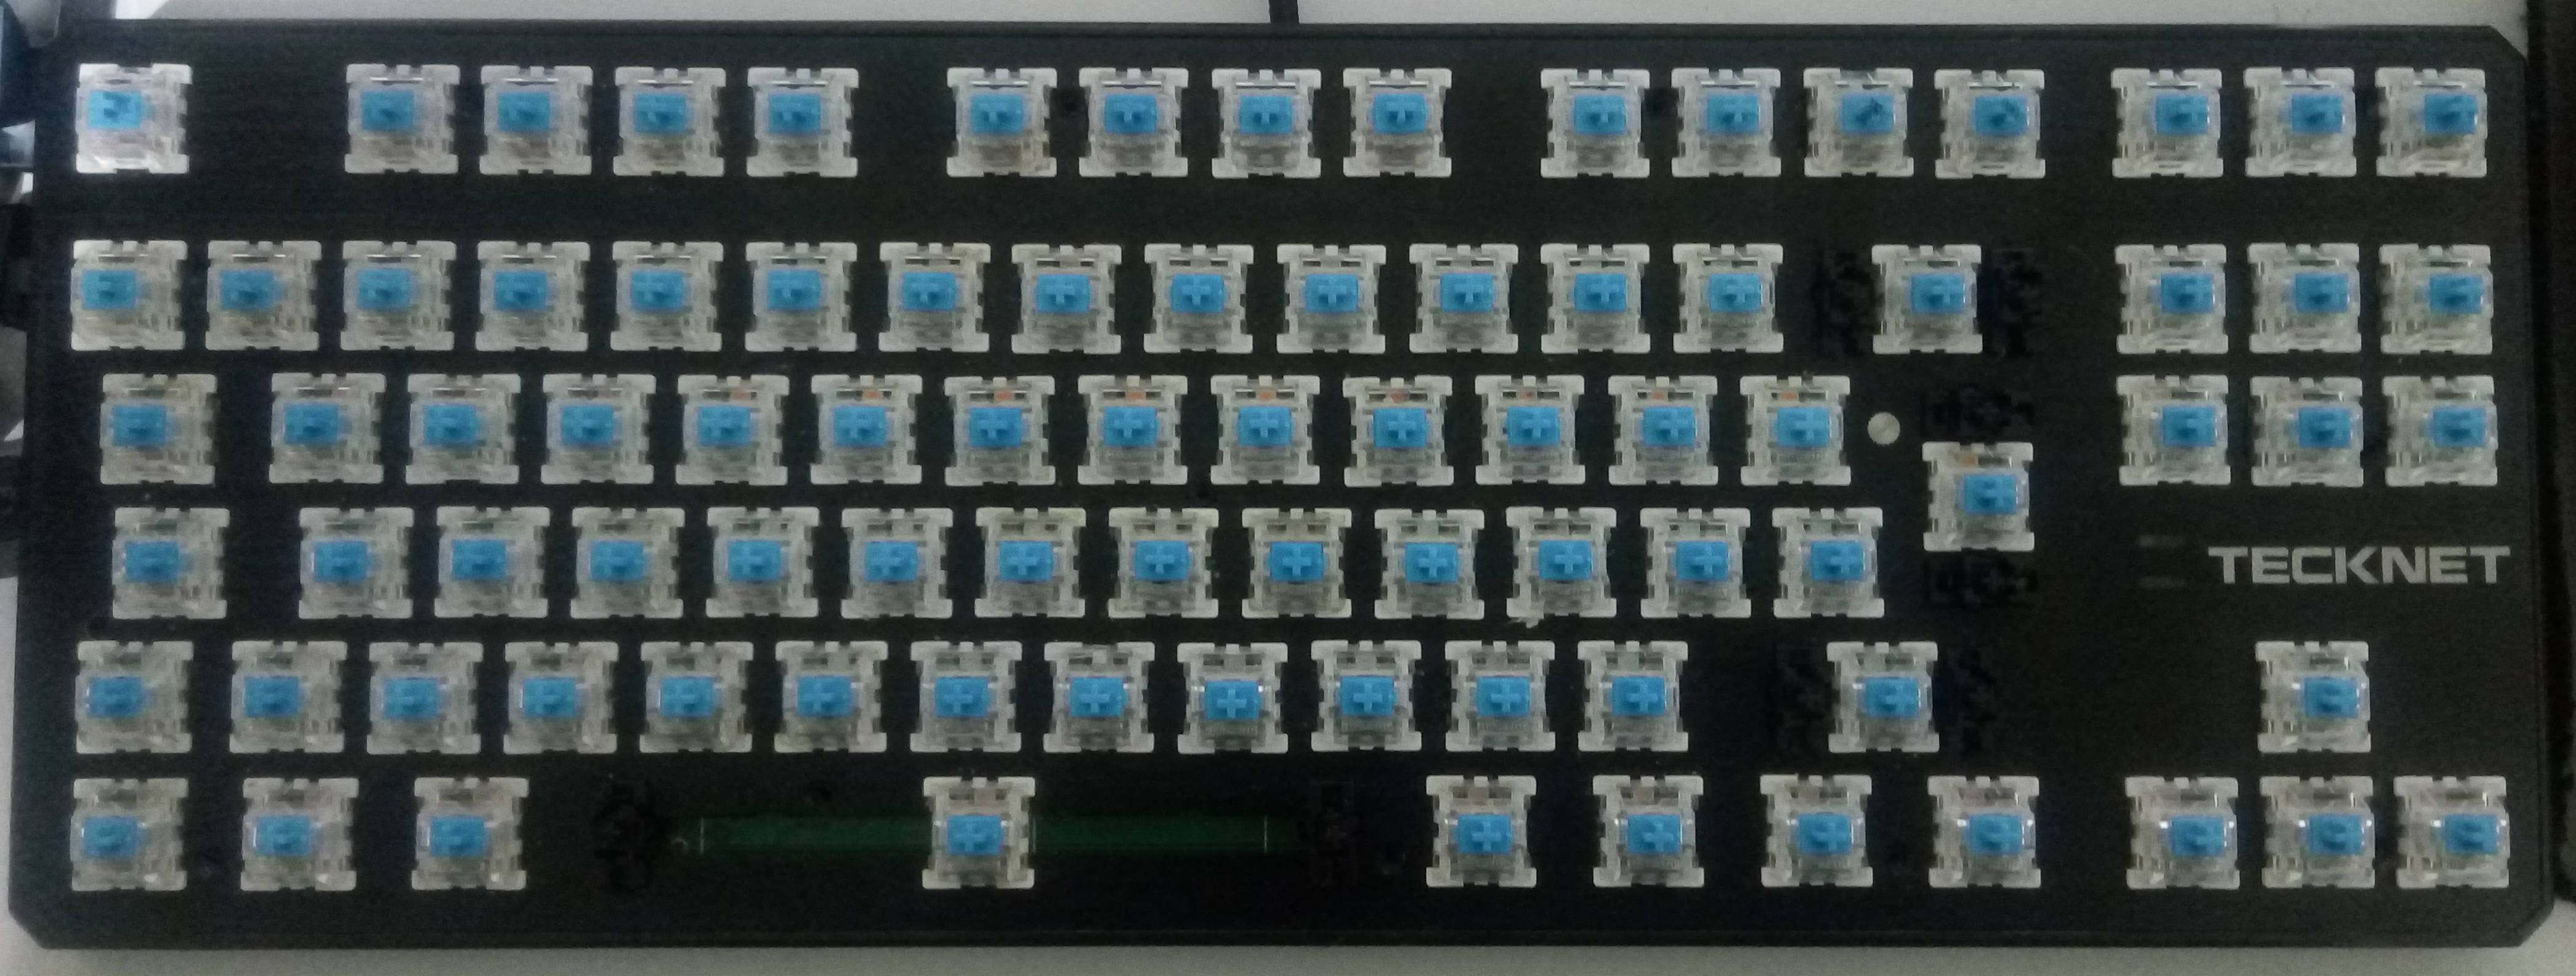
The next job is to figure out which switches you want to replace and mark them (it’s easy to make mistakes). You need to keep the “new” (less worn) switches separate from the screwed ones, as once they are out of the keyboard you will have zero way to tell which is which.
To de-solder the switches, you’ll likely want a solder sucker. I personally had the soldering iron set to 300 degrees, heat the solder to a liquid and then suck it away. Do this a few times for each pin and all is good. The switch can then be easily lifted out of the PCB.
Then you’ll want to swap the switches over and solder them back into the keyboard. This is just normal soldering. Foreshadowing: Just be careful not to get the pad too hot as it could lift, and not to use too much pressure. Also bare in mind that the pin is seated in plastic and won’t take too much heat to warp the switch itself.
I kinda forgot this process and really screwed up. I forgot that I needed to use a solder sucker and went with the “more heat” solution whilst lifting. The switch did eventually come out, with part of the PCB with it!
I knew this would be an issue, but decided to go ahead with the
repair anyway and just ignore it. I put the keyboard back together,
tested it, and of course the entire top row (Esc to
F11) had stopped working. Oops. That lifted pad was going
to be a problem…
Knowing just enough electronics to cause massive headaches, I believed that I had broken a trace, such that the connection was completely broken. Given that the PCB is simple and most connections are visible, I could likely just bypass the trace manually with some wire.
0001    A   B   C
0002    |   |   |
0003    +---+---+
0004
0005    +---+---+
0006    |   |   |
0007    D   E   F
If each key had its own pin on the controller to detect whether it is pressed, for 100 or so keys you would need 100 or so pins on a microcontroller. This is pretty insane, so it’s simply not done. Instead, keyboards utilize a concept called scan lines, where each key is individually tested many times a second to see if it is pressed.
0008 A--+---+---+
0009    |   |   |
0010 B--+---+---+
0011    |   |   |
0012    C   D   E
It turns out that you go from needing pins on your keyboard controller to needing pins. For the matrix example, you see we reduce from needing 6 pins to needing 5 - the savings get greater as the number of keys is increased.
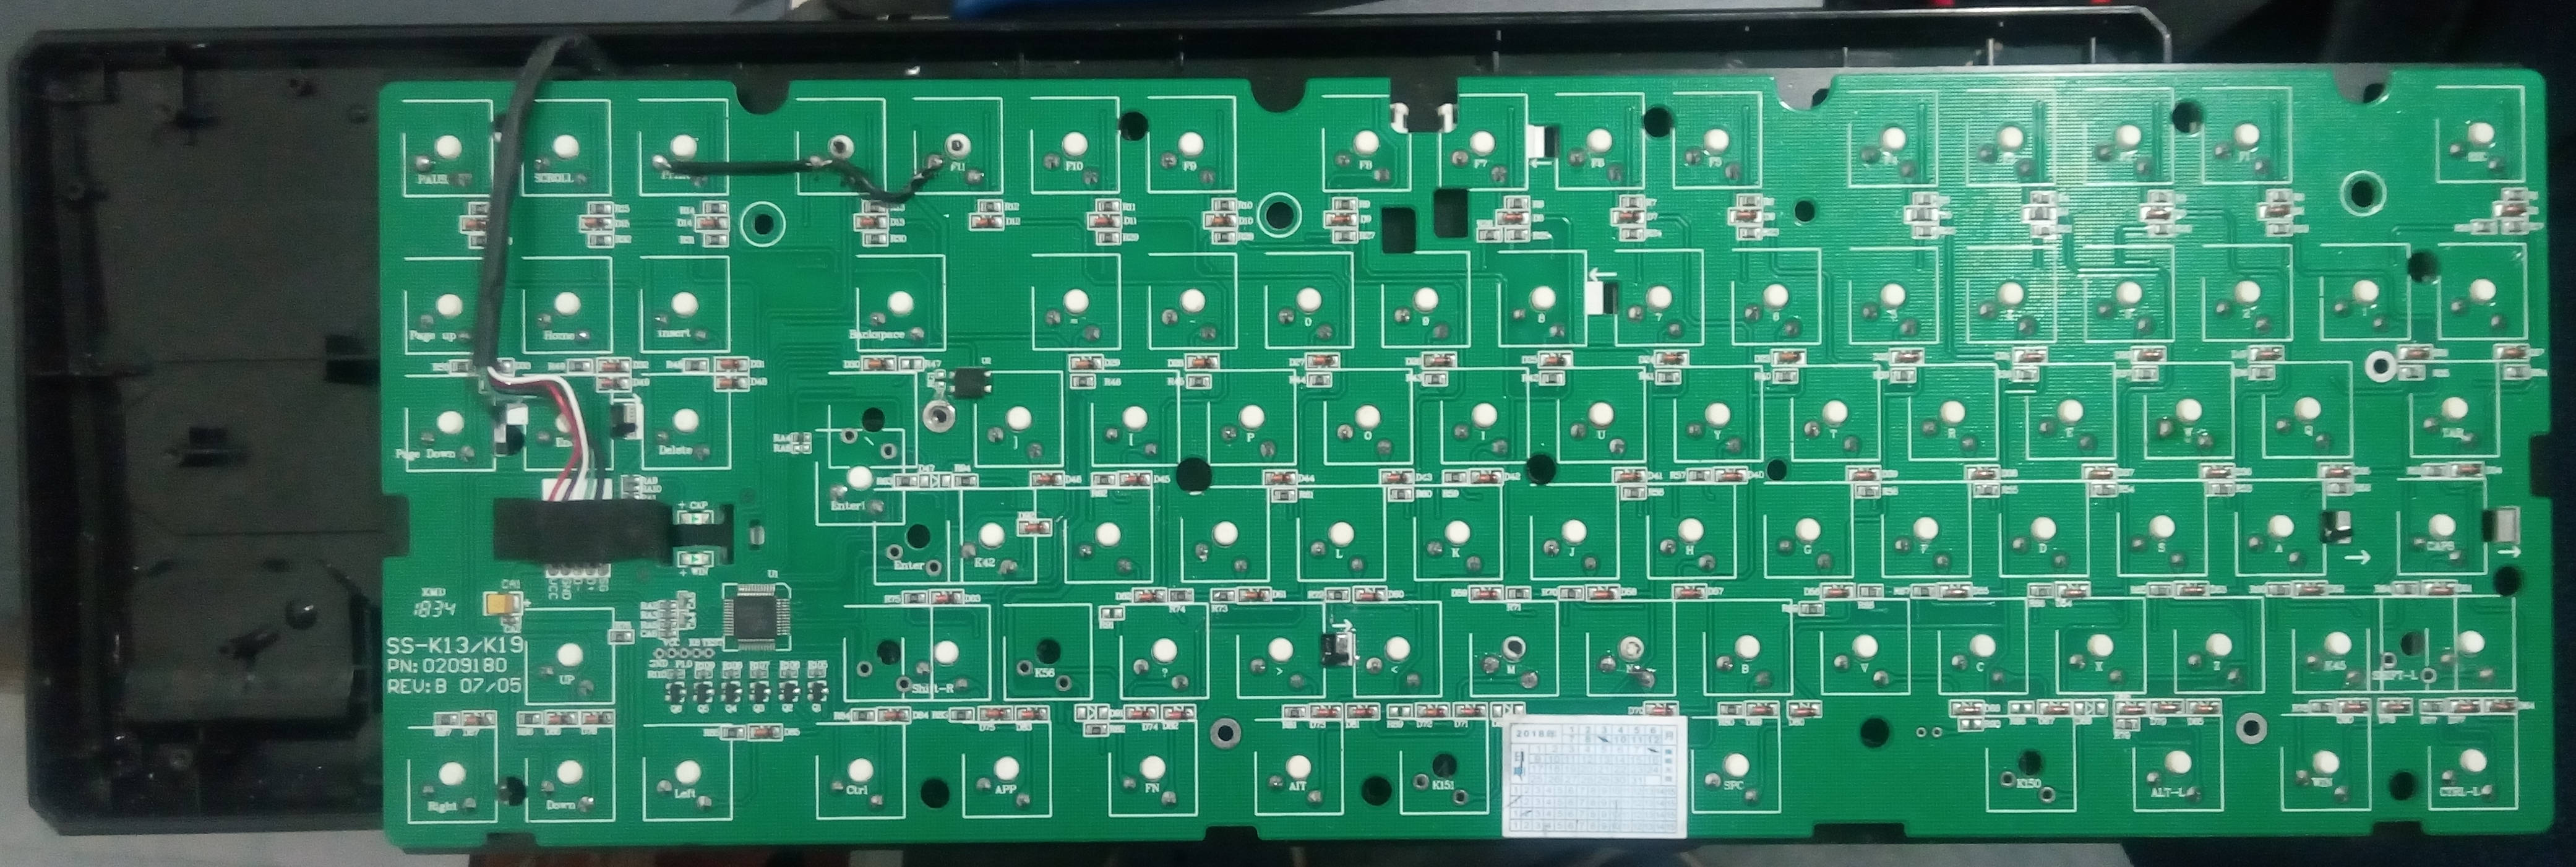
Given that the keys exist on a matrix and that the entire row had
stopped working, I suspect I had burnt out the trace around the
F11 key. In the picture you can see I soldered a bypass
wire across the PCB - and it worked!
The last time I had issues with my keyboard I said to myself “if this happens again, I will buy a new keyboard”. I really don’t think this keyboard will survive any more repair jobs. I’m now even unsure which switches I swapped!
I’m clearly a heavy keyboard user, enough that I can actually wear out a 50 million rated switch in just a few years. I believe my next keyboard needs removable switches, otherwise I’ll be doomed to having to keep soldering the bloody thing when they inevitably wear out.

I have been thinking about the SK61
with replaceable mechanical optical switches for about $80 (NZD), but I
really user arrow keys a lot when typing in vim for example. I
also use the Home and End keys a hell of a lot
when navigating around lines.
I did actually try ordering one some months ago, but unfortunately my order was cancelled and it never arrived.